Add contacts
Contacts are the people you send email campaigns to. They belong to one workspace. Adding contacts one at a time works on every plan. Importing a file needs the Solo plan or above, and so do email campaigns. You need a role that can add contacts: a Viewer can see them but doesn’t get Add Contact or Import.
Adding a contact doesn’t ask for or record the person’s consent, so check that you’re allowed to email them. Our Acceptable Use Policy doesn’t allow purchased or scraped lists unless you’ve verified a lawful basis for contacting those people.
Open Contacts
Section titled “Open Contacts”-
Sign in at app.surveyrock.com. You start on Home.
-
Click Contacts in the top bar. If you’re inside a survey, open the Workspace menu in the top bar first.

The line under the page title shows how many contacts you’ve used and your plan’s limit. The limit covers every workspace in your account.
Add one person
Section titled “Add one person”- Click Add Contact.
- Enter the Email. First Name and Last Name are optional. Any custom fields are under Custom Fields.
- Click Save, or Save & Add Another to add someone else straight away.
Import a file
Section titled “Import a file”Your file needs to be a CSV or Excel (.xlsx) file of up to 10 MB, with column names in the first row and a column for the email address.
-
Click Import. The Import Contacts page opens.
-
Click Upload a file, or drag your file onto the box. To start from a blank layout, click Download sample template first.
-
When the upload finishes, click Next: Map Fields.
-
Check the contact field beside each column of your file. Email has to be matched. Columns called Email, First Name or Last Name are matched for you, and so are columns named after a custom field. Choose Don’t import for a column you don’t want.
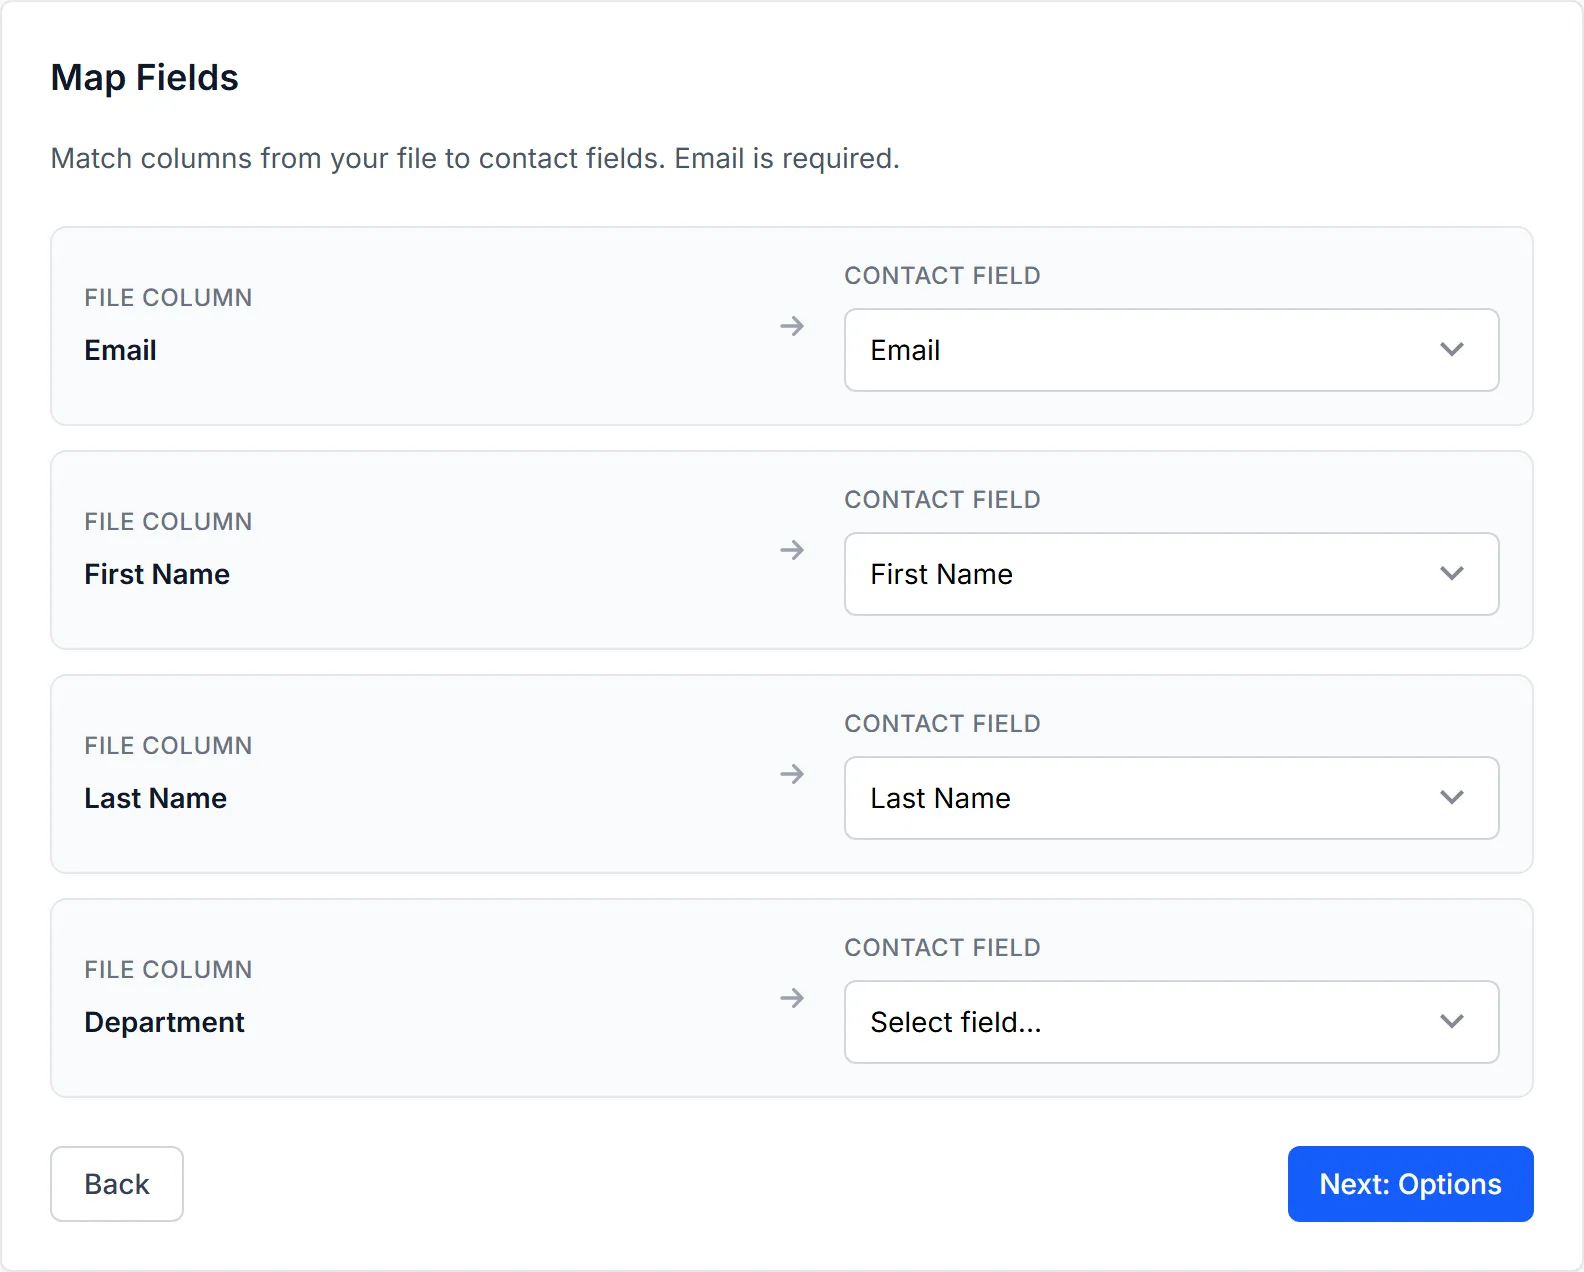
-
Click Next: Options.
-
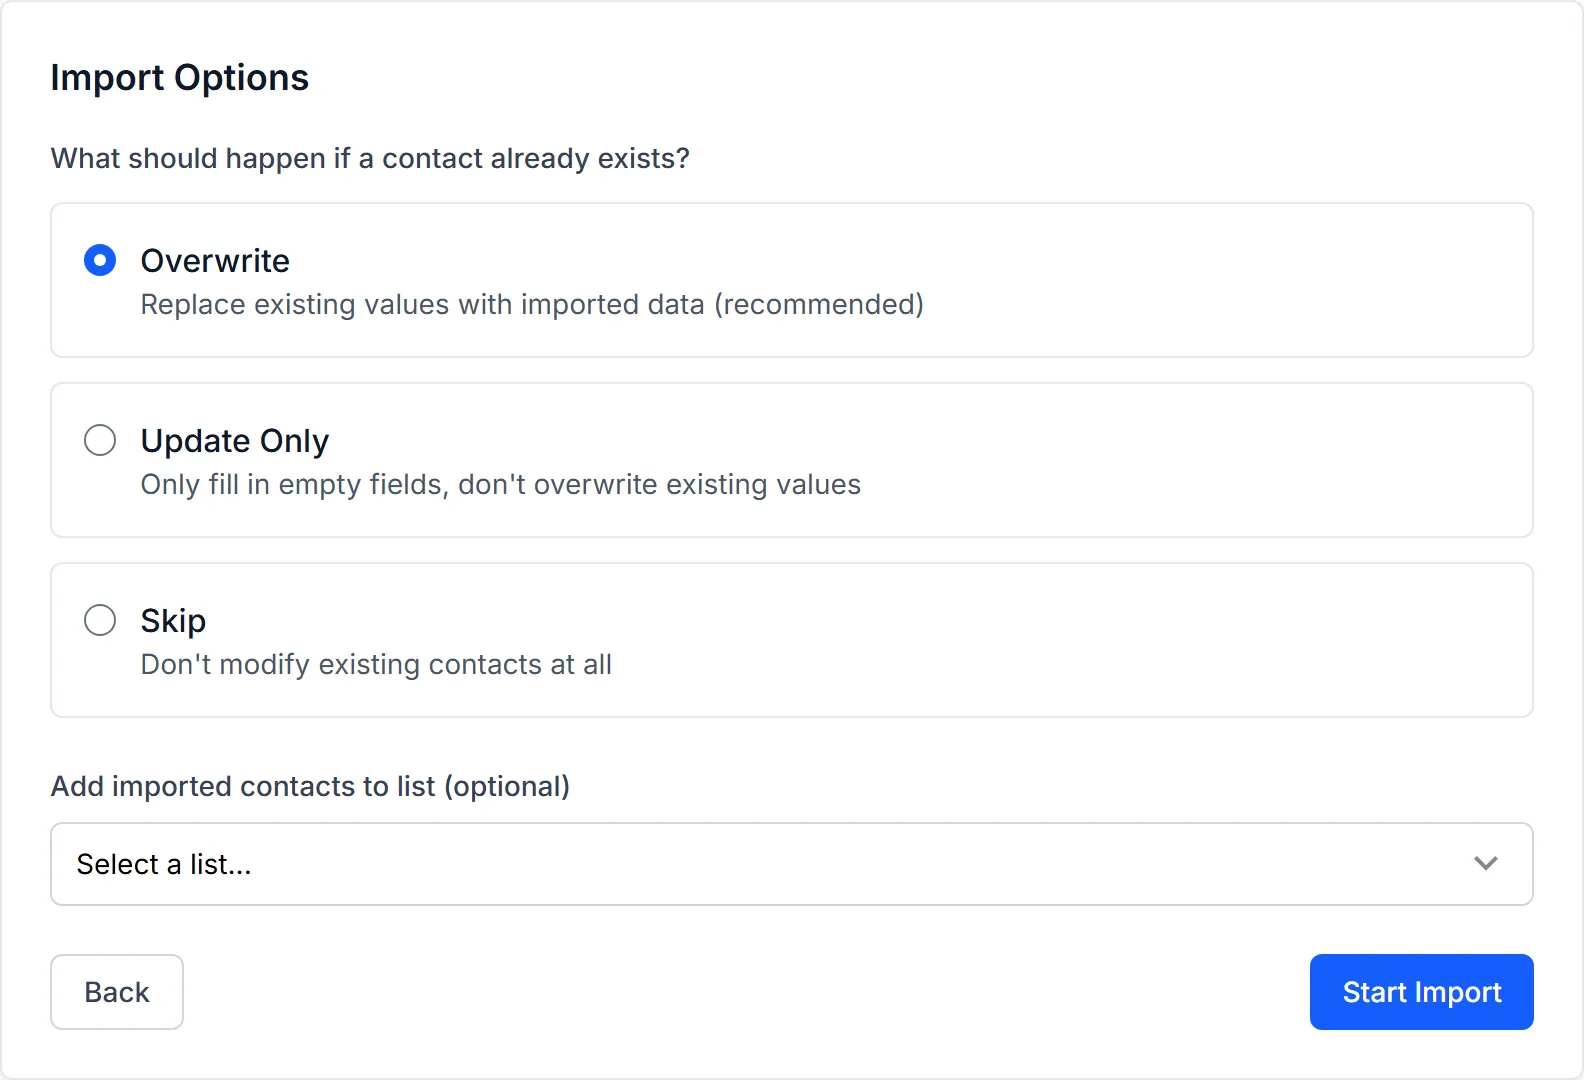
Under What should happen if a contact already exists?, choose one. A contact already exists if its email address is in this workspace.
- Overwrite replaces existing values with the ones in your file.
- Update Only fills in empty fields and leaves the rest alone.
- Skip leaves existing contacts as they are.
-
To put these contacts on a list, choose it under Add imported contacts to list (optional). With Skip, contacts who already exist aren’t added to the list.
-
Click Start Import.
Import Complete! shows how many contacts were Created, Updated and Skipped, and how many rows had Errors. A row with no valid email address counts as an error. Click Download error report to see which rows, then click View Contacts.
If a published workflow starts when contacts join the list you chose, the page names it before you import and offers a box to add the contacts without starting it. Otherwise it starts once for each contact added.
To import a column you have no field for, an owner or admin creates the field first: click Fields, then Add field. Free and Solo allow 5 custom fields.
Put contacts on a list
Section titled “Put contacts on a list”A campaign can send to a list, so it’s worth making one before you build the campaign.
-
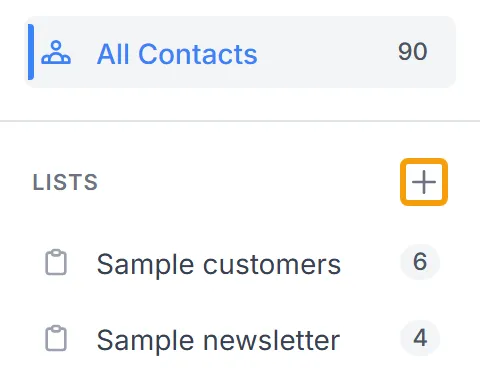
On Contacts, click the + beside LISTS in the left menu. If you have no lists, click Create your first list.
-
Type a name and press Enter.
-
Click All Contacts in the left menu.
-
Tick the contacts you want. A bar appears at the bottom of the page.
-
Click Add to List, then click the list.
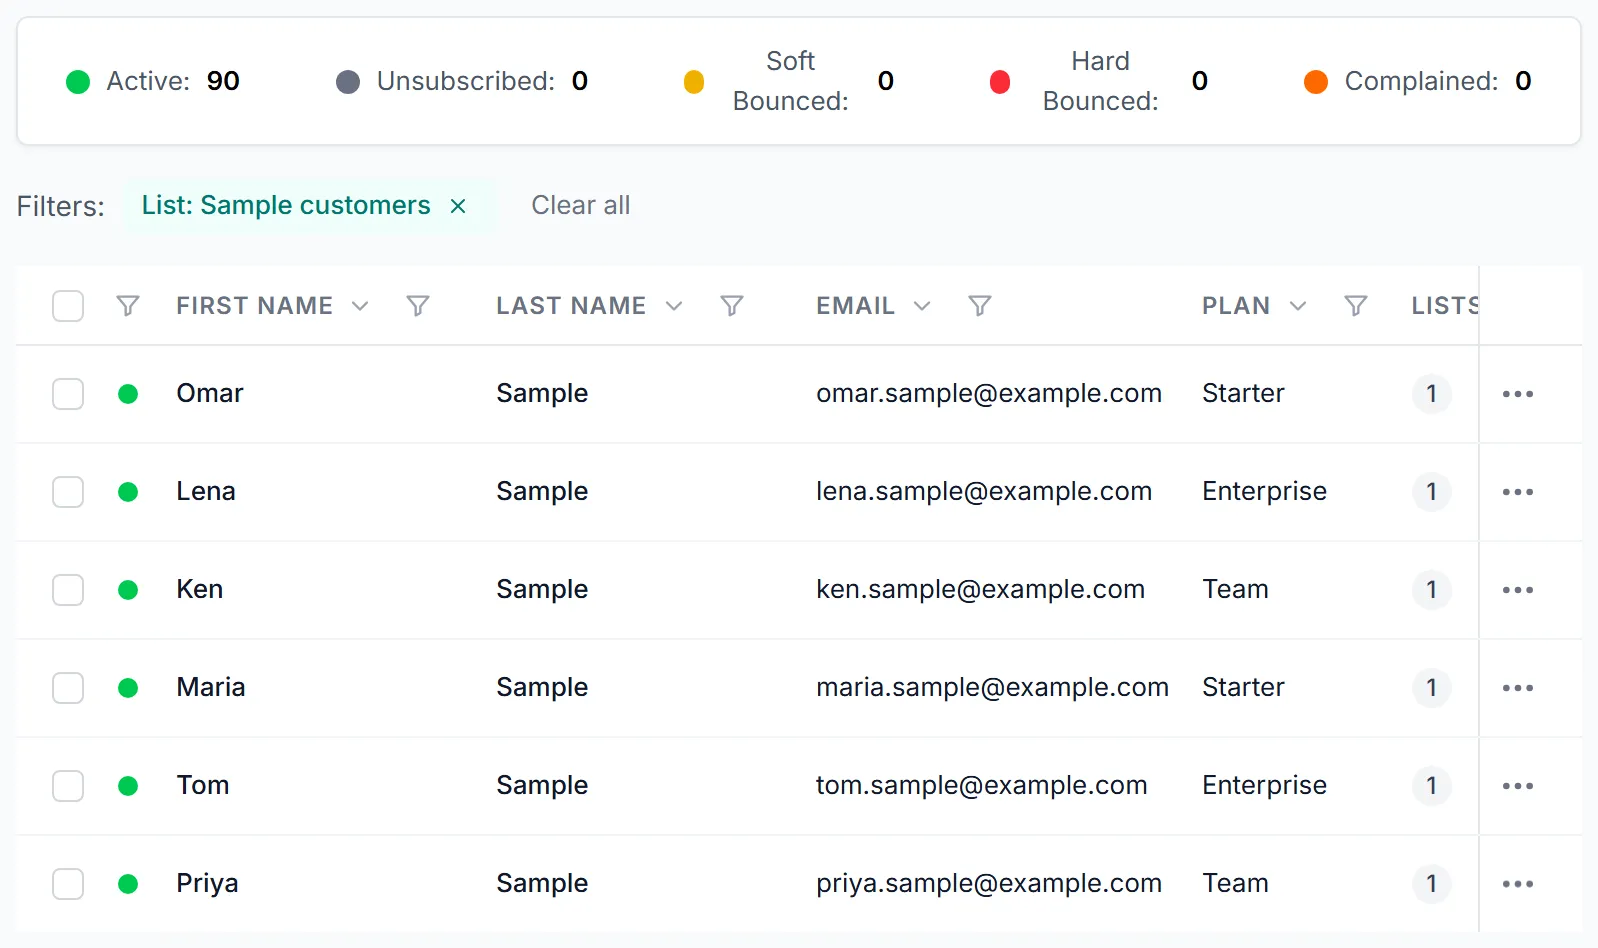
When your contacts are in, the table looks like this.
Who a campaign leaves out
Section titled “Who a campaign leaves out”A campaign doesn’t send to:
- contacts marked Unsubscribed, Hard Bounced or Complained
- contacts opted out of a list the campaign sends to
- any address on this workspace’s suppression list, or on SurveyRock’s own suppression list
Soft Bounced contacts stay in. After repeated soft bounces a contact becomes Hard Bounced.
Each campaign email has an unsubscribe link. When someone uses it, their address goes on the workspace’s suppression list and their contact becomes Unsubscribed. A hard bounce or a spam complaint reported to us also puts the address on the list.
Adding contacts doesn’t undo any of this:
- Add Contact refuses an address on the suppression list, and an import skips it.
- An import never changes a contact’s status.
- Deleting a contact and adding them again keeps an Unsubscribed, Hard Bounced or Complained status.
Owners and admins can also use Opt Out and Opt Back In in a contact’s row menu. Opt Back In changes the contact’s status but doesn’t take the address off the suppression list, so someone who unsubscribed by link stays left out until that entry is removed.
The list itself is Email Suppressions, for owners and admins. It has no menu item. Use the link in an import’s message, or go to app.surveyrock.com/suppression/index.
Example
Section titled “Example”You want to survey customers who joined this year. You save your spreadsheet as a CSV with columns for Email, First Name and Last Name. On Contacts you click Import, upload the file and keep Overwrite. You pick a list called New customers and click Start Import. A few rows come back under Errors, so you download the error report, fix the addresses and import that file again. Then you set up the campaign and choose the list.
Troubleshooting
Section titled “Troubleshooting”I can’t see Add Contact or Import. Your role in this workspace doesn’t allow it. Ask a workspace admin to change your role.
Import says it requires the Solo plan or higher. Importing isn’t on the Free plan. You can still add people one at a time with Add Contact.
The message says “Contact with this email already exists.” An email address can only appear once in a workspace. Search for it on Contacts.
The message says the address is on the suppression list. That address unsubscribed, bounced, complained or was added to the list by hand, so it can’t become a contact. An owner or admin can remove it under Email Suppressions, then add the contact again.
The import skipped more rows than I expected. Rows on the suppression list count as Skipped, and a message on the results page says how many. Download error report lists them.
The message says “Contact limit reached.” Your account has used all the contacts your plan allows, across all its workspaces. In an import, the rows over the limit count as Errors. Delete contacts you don’t need, or upgrade your plan.
My file won’t upload. Check that it’s a .csv or .xlsx file of up to 10 MB, with column names in the first row.